
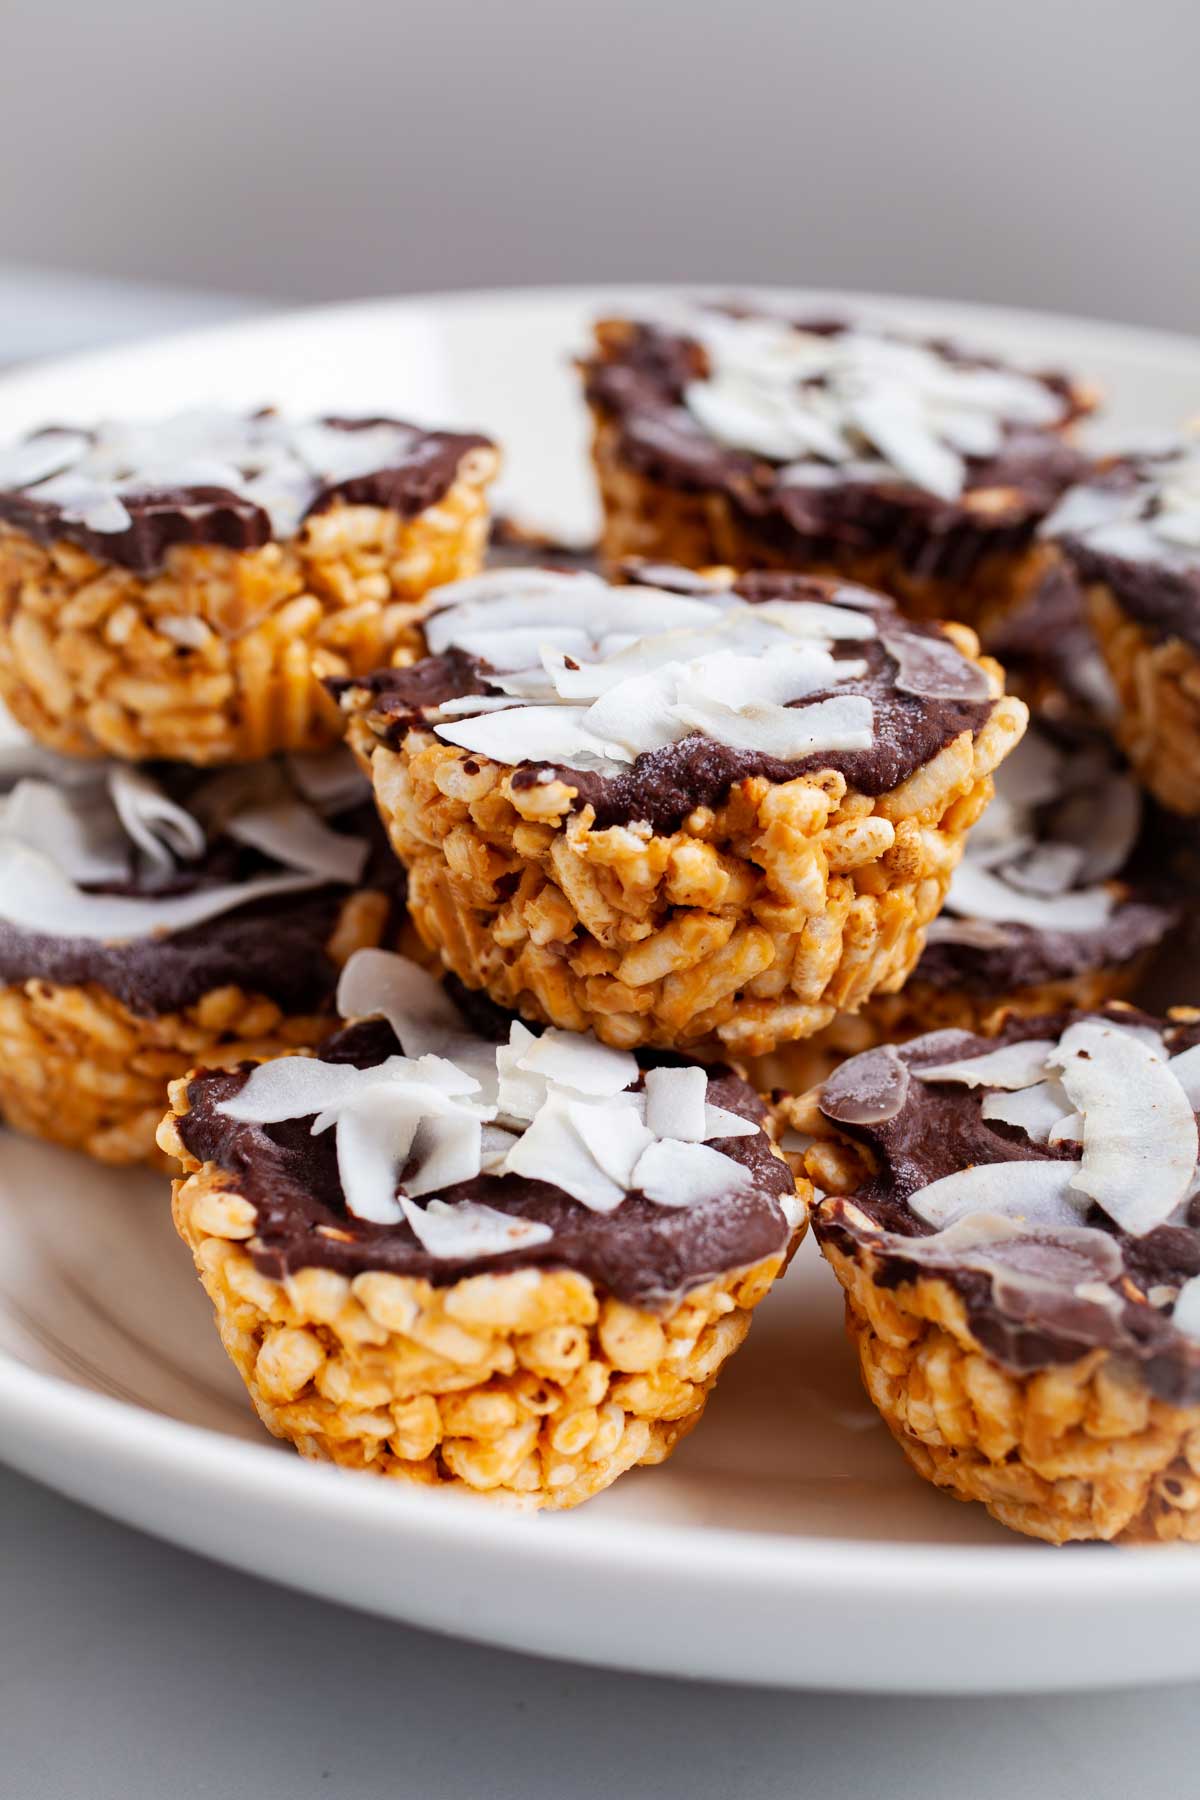
These easy peanut butter chocolate crispy rice treats are perfect for peanut butter lovers and are topped with a rich layer of chocolate.
They’re no-bake, made without marshmallows or refined sugar, and incredibly simple to customize. Serve them in cupcake liners for the perfect crunchy, sweet bite packed with irresistible peanut butter flavor.
I love having a few healthier treats on hand that are fun to make and don’t take much time—especially ones I can whip up with my daughter on a weekend afternoon. These peanut butter chocolate crispy rice treats are no-bake treats, naturally sweetened, and easy to adapt if you're avoiding certain ingredients.
Whether you use puffed Kamut or crisp rice cereal, swap the nut butter, or go for dark or semi-sweet chocolate, there's plenty of room to make them your own.
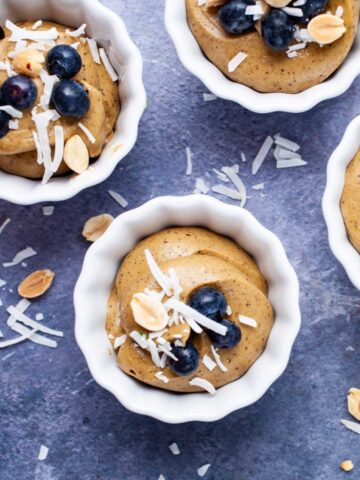
Like my chocolate coconut bites or bliss balls with dates, these little bites are satisfying, simple, and great for both kids and adults. Plus, they’re just as gratifying for peanut butter fans as they are for chocolate lovers. Let’s make them!
Why You'll Love This Recipe
- Healthier Treat: A better-for-you alternative to classic Krispy Treats and perfect for kids’ parties or a weekend indulgence.
- Easy Recipe: Made with just a few simple ingredients, and no oven required—just chill and enjoy.
- Wholesome Crunch: Rice or Kamut puffs add a crispy texture and nutty, hearty flavor.
- Customizable: You can easily adjust the ingredients to your dietary needs.
- Chocolate Flavor: Topped with a rich swirl of dark chocolate for a satisfying bite.
Ingredients & Notes
See the recipe card for full information on ingredients and quantities.

- Puffed Rice: You can also use Kamut puffs for this recipe. They’re slightly thicker than regular (brown) rice cereal, which gives the treats a heartier texture. However, keep in mind that Kamut is not gluten-free—so if that’s important, stick with rice puffs. They’re usually easy to find in the cereal aisle, and I often grab mine online or at Whole Foods.
- Peanut Butter: I usually go for salted, crunchy peanut butter—it adds extra texture to this gooey treat and balances the sweetness nicely. But feel free to use creamy peanut butter if that’s what you have on hand. If you're using unsalted peanut butter, consider adding a pinch of sea salt to bring out the flavors. Got leftovers? Use them to make my Brownie Peanut Butter Cookies!
- Sweetener: Raw honey is an excellent choice.
- Dark Chocolate: Although optional, a chocolate top adds a nice contrasting texture and flavor—and who doesn't love some chocolate? I love a sugar-free version (if on sale) or a very dark one with at least 70% cocoa. However, you can also use semi-sweet dark chocolate chips, and reserve the rest to make my Buttery Buckwheat Chocolate Chip Cookies.
- Coconut Cream: A small amount helps melt the chocolate, give it a beautiful shine, and tone down its intense cocoa flavors. Use any leftovers to make my Blender Nice Cream recipe.
- Garnishes (optional): Finely chopped nuts and coconut shreds add a lovely crunch.
How To Make Healthy Rice Crispy Treats
See the full recipe with measurements in the recipe card.

Step One (Picture 1 above) - Combine honey or brown rice syrup with natural peanut butter until well combined. Loosen any big chunky peanut butter pieces until you get an even consistency.
Step Two (Picture 2 above) - Add the puffs to the peanut butter mixture in batches, stirring well until evenly coated. Then add the extra honey or brown rice syrup to help the cereal mixture stick together better.
Step Three (Picture 3 above) - Fill the cupcake liners with the cereal mixture in increments, using the back of a spoon to firmly press down each layer as you go.
Step Four (Picture 4 above) - Continue adding and pressing down the rice crisp cereal until the liner is full and the mixture is firmly packed.

Step Five (Picture 4 above) - When done, briefly place the cereal treats in the freezer while you're melting the chocolate.
Step Six (Picture 6 above) - In a small saucepan, melt the dark chocolate over the lowest heat setting, then stir in the coconut cream until smooth and glossy. Remove the muffin pan from the freezer and drizzle the chocolate over the rice crispy treats in a streaking motion until all the chocolate is used.
Step Seven (Picture 7 above) - Garnish with coconut flakes and crushed nuts (optional). Immediately store them in the freezer and harden them for about 2 to 4 hours.
Top Tips
- Use a Muffin Pan: Placing the cupcake liners in a muffin pan makes it easier to press in the cereal mixture and helps maintain their shape consistency.
- Use Room Temperature Ingredients: For even coating, make sure the peanut butter is smooth and free of chunks. Chocolate and coconut cream also melt more easily and blend better when brought to room temperature.
- Chocolate: If using a chocolate bar, break it into smaller pieces to help it melt more evenly. You can also try melting wafers for a quicker, smoother result and use leftovers to serve with my Warm Spiced Bone Broth Hot Chocolate.
Variations & Substitutions
- Not a Peanut Butter Lover? Substitute for crunchy almond butter or cashew butter. Swapping this ingredient will determine the overall flavor of your Rice Crispy Treat.
- Want to Keep it Nut-Free? Use unsweetened Sunflower Seed Butter instead and omit the crunchy nuts as a topping.
- Want to Keep it Vegan-Friendly? Swap honey for maple syrup or brown rice syrup.
- Want to Keep it Gluten-Free? Stick with rice puffs instead of Kamut.
- Want a Thick Layer of Chocolate: Use a larger amount of chocolate chips or a chocolate bar (about 3.5 ounces/100 grams). Or try white or milk chocolate, if that's your preference.
- Want to Use the Microwave to Melt Chocolate? Use a microwave-safe bowl and melt in 30-second intervals. Stir in the coconut cream while the chocolate is still warm. This helps it blend smoothly and gives you that glossy, luscious finish.
- Don't Have a Muffin Pan? If you don't use a muffin pan, place the crispy rice treats on a large cutting board to drizzle the chocolate over the cupcakes. Make sure to use sturdy cupcake holders.
- Different Garnishes? Especially if you're making this with kids, try using healthier mini marshmallows as a topping.
Storage
Keep in the freezer until ready to eat for up to six weeks.

More Easy Peanut Butter Recipes You Might Like


Made this? Tell me how it went in the comments and leave a star rating below. I love to hear from you. And don't forget to subscribe to my monthly newsletter! — Mariska
📖 Recipe
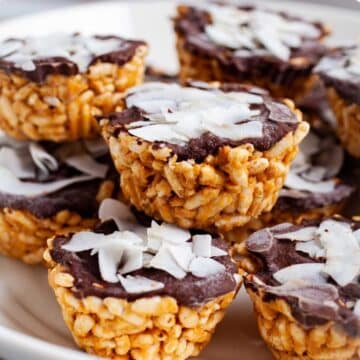
Chocolate Peanut Butter Rice Crispy Treats
Mariska RamondinoEquipment
- 12 muffin liners or sturdy cupcake liners
- 1 small saucepan to melt the chocolate
Ingredients
- 1 cup crunchy peanut butter 265 grams
- 3 tablespoons raw honey, divided (or use maple or brown rice syrup to keep it vegan-friendly)
- 4 cups puffed rice or puffed Kamut 85 grams (use puffed rice cereal if you want to keep it gluten-free)
- 2.2 ounces 70% cocoa dark chocolate 60 grams (or use semi-sweet or dark chocolate chips)
- 2 tablespoons coconut cream 30 grams
- Coconut shreds and chopped nuts of choice for garnish (optional)
Instructions
- In a medium-sized bowl, mix the nut butter with two tablespoons of honey or a sticky, liquid sweetener of choice until smooth and well combined.1 cup crunchy peanut butter, 3 tablespoons raw honey, divided
- Add the rice puffs or puffed Kamut to the nut butter mixture in batches. Use a large spoon to gently stir until all the cereal is evenly coated.4 cups puffed rice or puffed Kamut
- Drizzle one tablespoon of honey (or other chosen liquid sweetener) over the coated rice puffs and gently stir it in—you should have a sticky mixture.
- Place paper or silicone cupcake liners in a 12-cup muffin pan. Then divide the cereal puff mixture evenly into the lined cupcake molds.
- Start with ½ tablespoon of the mixture, firmly pressing the sticky puffs into the bottom of the cupcake liner using the back of a spoon. Add another ½ tablespoon and repeat, gently but firmly pressing each layer. Continue until the cupcake liner is generously filled, then repeat with the remaining mixture.
- Place the filled muffin pan in the freezer and reserve. You can cover it loosely with plastic wrap or parchment paper (optional).
- Add the dark chocolate pieces or semi-sweet chocolate chips and coconut cream to a small saucepan. Place over the lowest heat and stir continuously until the chocolate is fully melted—the coconut cream gives it a beautiful, glossy finish and a mellow, creamy flavor. Remove from heat once melted.2.2 ounces 70% cocoa dark chocolate, 2 tablespoons coconut cream
- Remove the muffin pan from the freezer and drizzle the melted chocolate over each rice crispy treat in a waving motion—don’t worry if some spills onto the pan.
- Garnish with fine coconut shreds and finely chopped nuts of your choice (optional).
- Place immediately in the freezer for 2-4 hours or until the rice crispy treats have sufficiently hardened.
- Keep them stored in the freezer, and only remove them when you are ready to eat them.
Notes
- To keep it gluten-free: Use gluten-free brown rice cereal crisp or rice puffs.
- To replace peanut butter: Use almond butter.
- Instead of crunchy nut butter: Feel free to use creamy nut butter instead. Best to use salted nut butter or make your own, such as my Homemade Chocolate Peanut Butter Spread.
- Make it nut-free: You can also make it with Sunflower Seed Butter if you prefer a nut-free option.
- To make it vegan-friendly: Use brown rice syrup or maple syrup, but brown rice syrup is much stickier and better at holding the puffs together.
- Don't love dark chocolate? Explore with white chocolate chips. Just know that the result will be much sweeter.
- Mixing: When mixing the rice puffs with the peanut butter mixture, it might seem like there's not enough to coat everything. But don’t worry—keep gently stirring. It just takes a little time for every puff to get evenly coated.
- Storage: Keep the treats stored in an airtight container in the freezer for up to 6 weeks.
Add your own private notes
Whenever you come back to this recipe, you’ll be able to see your notes.
Nutrition (% Daily value)
Disclaimer: This nutritional data is calculated using third party tools and is only intended as a reference.

Leave a Reply