These wholesome buckwheat waffles promise a unique, nutritious breakfast that will brighten your morning table.
Infused with warm cinnamon and vanilla, they're deliciously filling and slightly sweet, and every bite is immensely gratifying.
This easy-to-make buckwheat waffle recipe is also gluten-free and dairy-free.
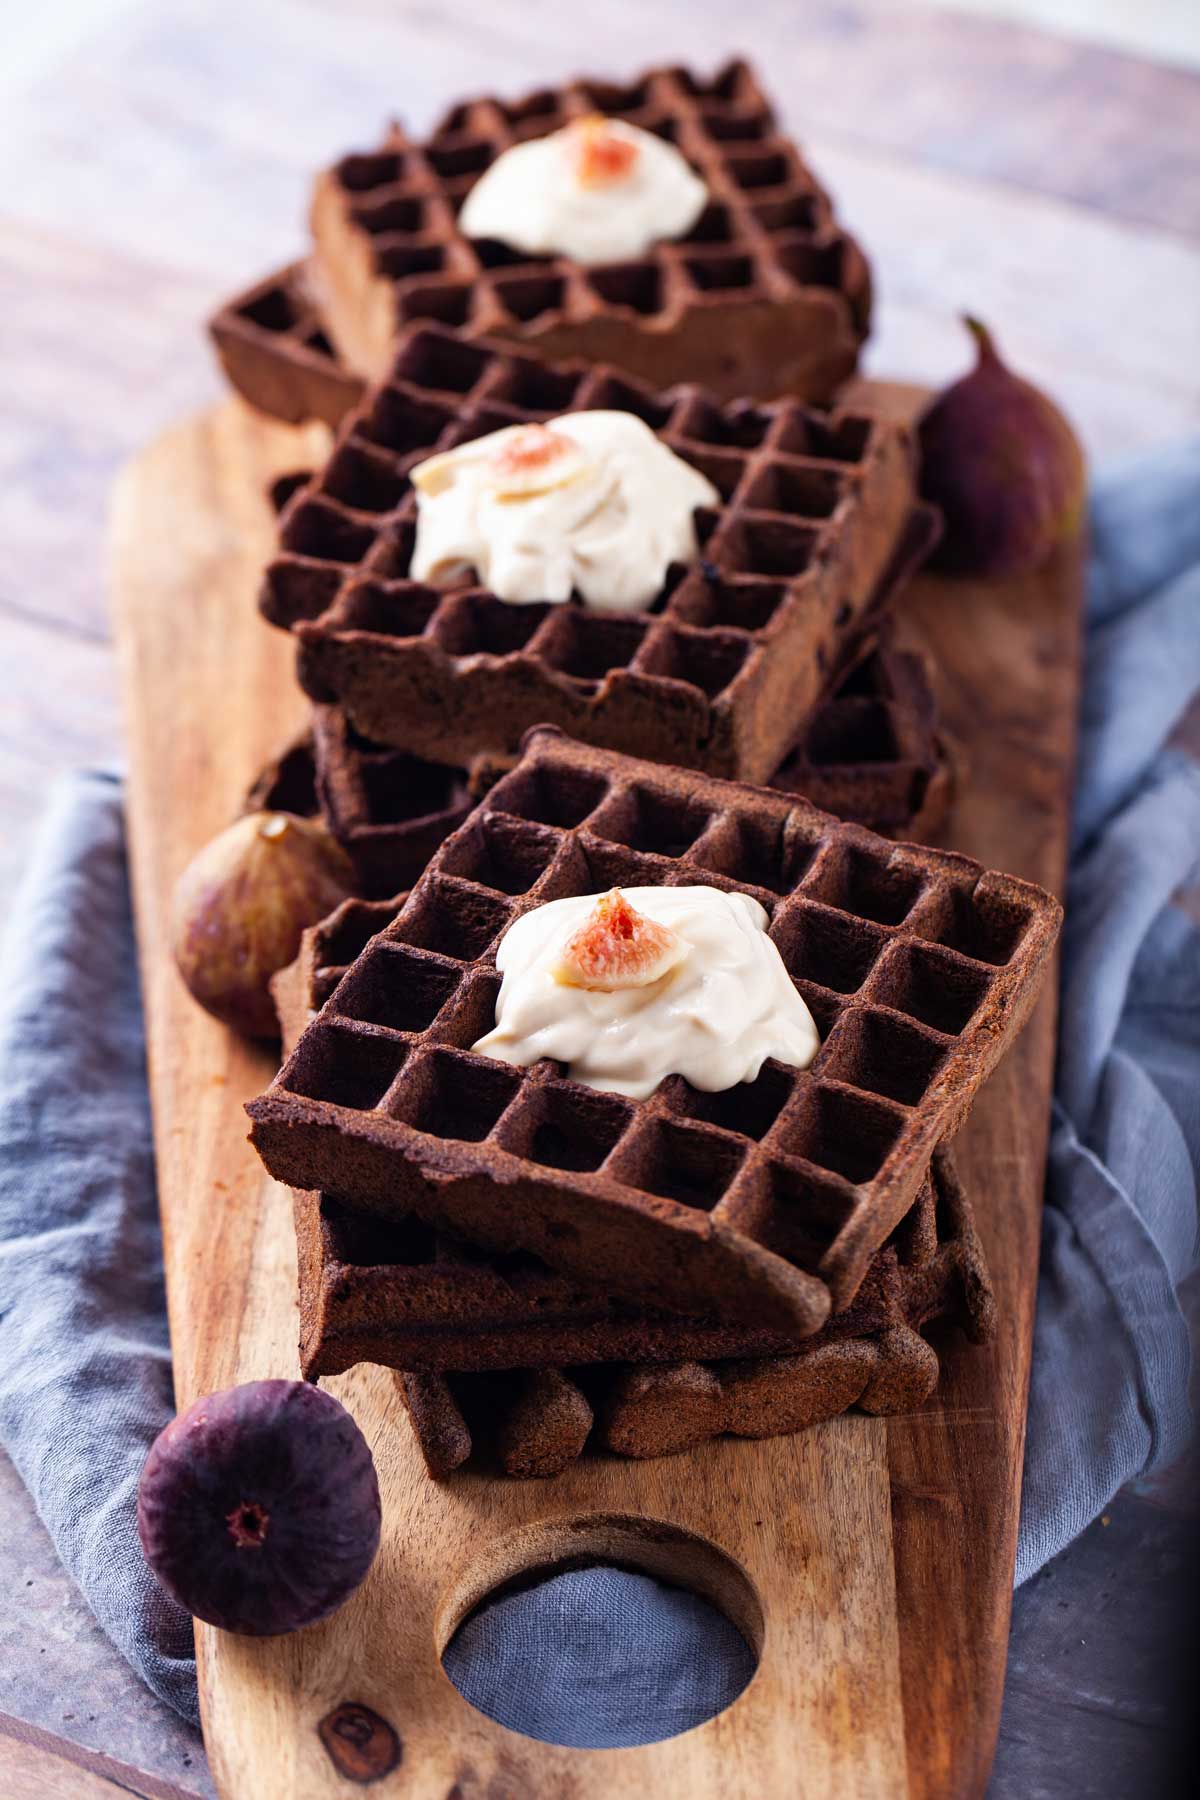
I always venture beyond traditional waffles. It's not just about making them healthier.
The possibilities of ingredients you can mix into a waffle batter are almost endless, and it's so much fun to come up with different types of waffle flavors.
Like my oat flour waffles and cheesy chaffles, this buckwheat waffle recipe is also gluten-free but has a more distinct nutty flavor and a soft interior with crispy edges.
Besides your usual regular waffle toppings, they are equally tasty when served with something more savory, such as cheese, and are, therefore, a great choice to present on a waffle board for a relaxed weekend brunch or entertaining guests.
Let's make them!
Jump to:
Why You'll Love This Recipe
- Nutrient-Rich: Buckwheat is a powerhouse of vitamins and minerals.
- Gluten-Free & Dairy-Free: Perfect for those steering clear of gluten without compromising taste or looking for healthier waffles (explore more dairy-free waffles).
- Versatile: Pairs beautifully with both sweet and savory toppings.
Ingredients
See the recipe card for full information on ingredients and quantities.
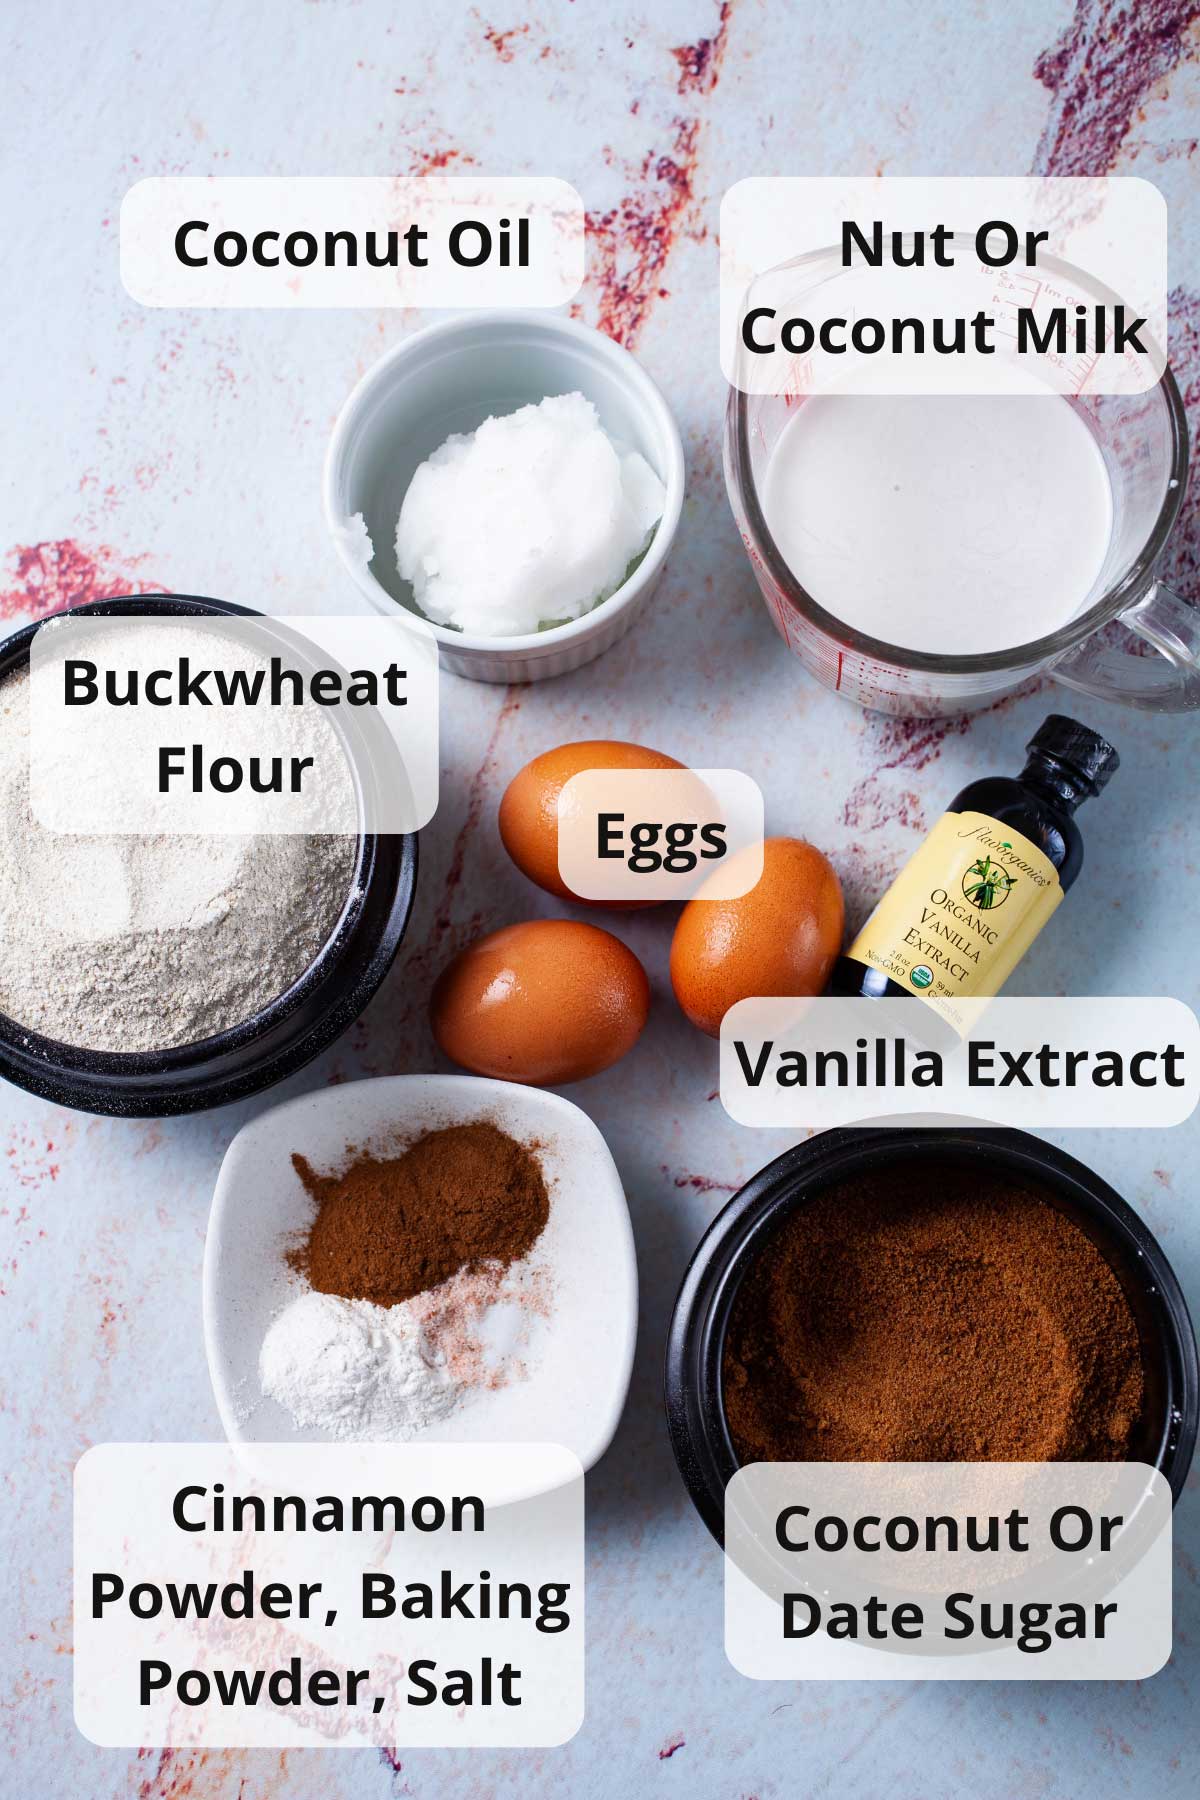
- Buckwheat flour: You can use regular buckwheat flour or toasted buckwheat groats (Kasha) and grind them into powder. You can't go wrong with either one. It's just that the batter and the color of the waffles will be slightly different.
- Coconut Oil: Adds great flavor and moisture for a tender texture.
- Coconut Milk: It gives waffles a moist and tender texture with crispy edges.
- Eggs: Adds structure and moisture.
- Vanilla Extract: It adds a sweet, aromatic flavor that enhances the overall taste of these buckwheat waffles.
- Coconut Sugar: It adds a perfect amount of sweetness and gives these buckwheat waffles more complex flavors and a rustic look.
- Cinnamon Powder: This spice adds warmth and sweetness and tempers the strong taste of buckwheat flour, and makes these waffles flavorful and aromatic.
- Baking powder: used as a leavening agent.
- Salt: You only need a tad to enhance the flavors of the other ingredients and balance the sweetness.
Note: Don't know what to do with the rest of your bag of buckwheat flour? Try my Apple-Bacon-Cast-Iron Skillet Pancake or these wonderful buttery Buckwheat Chocolate Chip Cookies.
How To Make Them
See the full recipe with measurements in the recipe card.
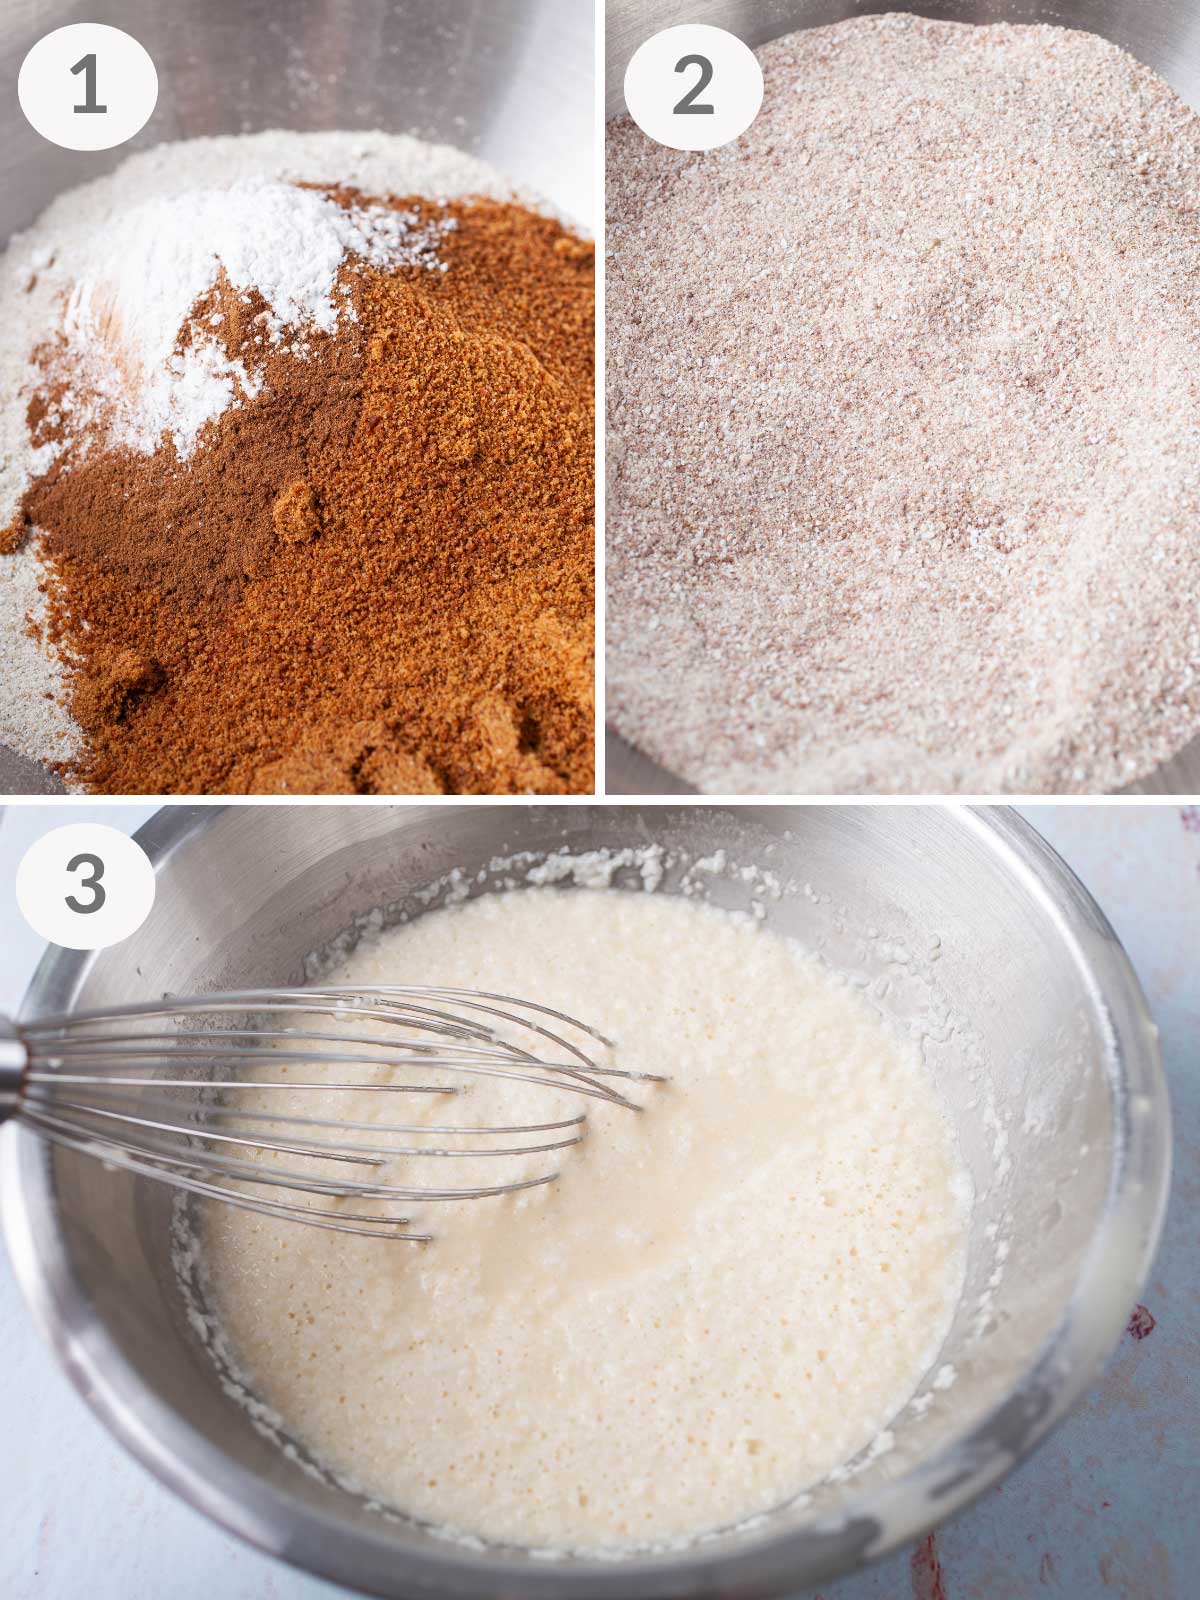
Step One (Picture 1 above) - In a large bowl, add all the dry ingredients.
Step Two (Picture 2 above) - Whisk together the dry ingredients until well combined.
Step Three (Picture 3 above) - In a medium bowl, whisk together the wet ingredients: eggs, coconut milk, melted coconut oil, and vanilla extract.
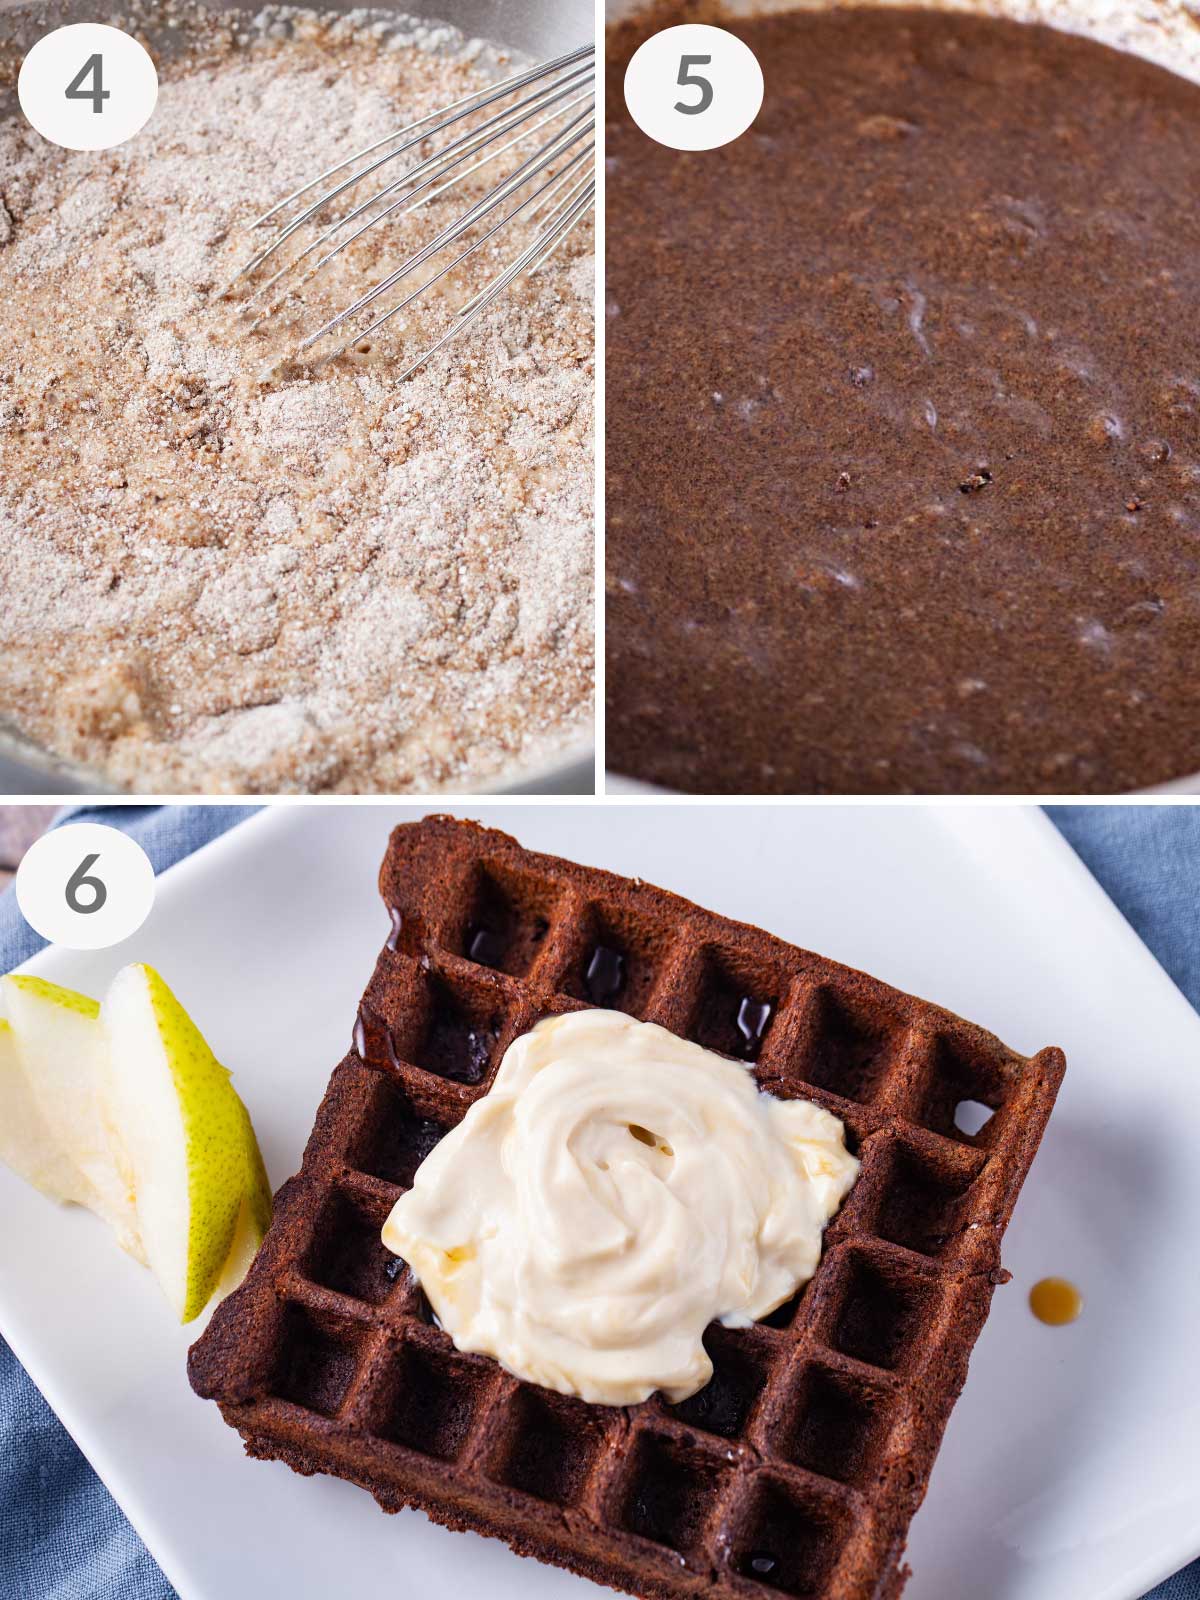
Step Four (Picture 4 above) - Pour the wet ingredients into the dry mixture and stir until combined. Ensure there's no flour mixture left at the bottom of the mixing bowl.
Step Five (Picture 5 above) - The color of the batter will differ depending on the type of buckwheat flour you use.
Step Six (Picture 6 above) - Brush the hot waffle iron (s) of a preheated (Belgian) waffle maker with a little bit of olive oil or coconut oil, or use a cooking spray to prevent sticking. Pour ¼ cup of batter into the center of the irons. Bake until brown and crisp. Allow to cool on a wire rack to maintain a good texture.
Helpful Tips
- For best results, ensure all ingredients are at room temperature.
- If making a double batch, keep the first batch in a 200-degree preheated oven to keep them warm.
- If storing, allow the waffles to cool completely before placing them in an airtight container.
- Bake these buckwheat waffles on the highest waffle setting to get them beautifully brown.
Variations & Substitutions
Buckwheat flour: Instead of regular buckwheat flour, use toasted buckwheat groats (Kasha) and grind them into powder. You can't go wrong with either one. It's just that the batter and the color of the waffles will be slightly different.
Sweetener: Brown sugar is very similar in appearance and flavor and can serve as a substitute for coconut sugar. I have even used date sugar in the past or substituted half of the recipe's recommended amount with golden monk fruit sweetener.
Milk: Feel free to substitute with any other plant-based milk to keep it dairy-free. Cashew milk is a great substitute.
What To Serve With Buckwheat Waffles
I wouldn't be surprised if these buckwheat waffles will become a favorite at your brunch table.
- They pair well when served with fresh fruit on the side, like berries, figs, pears, apples, or banana slices—it all depends on what's in season.
- Add a drizzle of honey or a little maple syrup.
- A dollop of chocolate peanut butter or Greek yogurt.
- But also experiment with something more hearty, like an egg sunnyside up and slices of your favorite hard cheese.
Recipe FAQs
Yes, you can use brown sugar or another sweetener of your choice.
Yes, but this might alter the texture and flavor slightly. Also, Spelt flour is not gluten-free.
Consider mixing buckwheat flour with other earthy and slightly nutty gluten-free options, such as Teff flour or ground gluten-free oats.
Store in an airtight container on the counter for up to 5 days. Reheat in a toaster oven for the best texture.
They also freeze very well in sealed, freezer-safe bags. Just pop them in the toaster to warm them up.
Don't forget to subscribe to my Monthly Newsletter!
Your shares and ratings are valuable to me and so much appreciated. They'll help me create more content you and others can enjoy!
Here you have it. Delicious gluten-free buckwheat waffles with a nice flavor that you definitely should make either for breakfast, part of brunch, or a (school) snack. Enjoy!
📖 Recipe

Amazing Gluten-Free Buckwheat Waffle Recipe
Mariska RamondinoEquipment
Ingredients
- 2 ⅓ cups Buckwheat flour 330 grams (or make a lighter flour by grinding toasted groats a.k.a kasha in a food processor)
- 2 teaspoons baking powder
- 2 teaspoons cinnamon powder
- 1 cup coconut sugar or date sugar 135 grams
- A pinch of salt
- 3 eggs
- 2 teaspoons vanilla extract
- ½ cup melted coconut oil (80 grams) plus more to grease the waffle iron
- 1 ¼ cups canned coconut milk (300 ml)
- ½ cup dark raisins optional
Instructions
- Preheat your waffle iron maker on a high heat setting (I use setting 6—7, which is the highest setting on my waffle maker.)
- Place all dry ingredients in a large bowl and stir to combine. Ensure that there are no sugar lumps lefts, and everything is well mixed in with the buckwheat flour.2 ⅓ cups Buckwheat flour, 2 teaspoons baking powder, 2 teaspoons cinnamon powder, 1 cup coconut sugar or date sugar, A pinch of salt
- In a separate bowl, lightly beat the eggs and stir in the vanilla extract, coconut oil, and coconut milk.3 eggs, 2 teaspoons vanilla extract, ½ cup melted coconut oil (80 grams), 1 ¼ cups canned coconut milk (300 ml)
- Pour the wet mixture into the bowl containing the flour mixture. Give it a few good stirs until everything is well combined.
- Stir in the raisins.½ cup dark raisins
- Brush hot waffle iron plates with a little coconut oil and spoon about ¼ cup of the batter onto each waffle iron plate. Close and cook the waffles.
- Cook until the automatic light turns green, and the waffles are beautifully browned.
- Use a fork to lift the buckwheat waffles carefully out of the waffle iron—they are very fluffy at this point. Place them on a wire rack to cool slightly—they will get crispier.
- Once the waffles are slightly cooled, you can stack them.
- Repeat with the rest of the dough.
Notes
- For best results, ensure all ingredients are at room temperature.
- If making a double batch, keep the first batch in a preheated oven to keep them warm.
- If storing, allow the waffles to cool completely before placing them in an airtight container.
- Bake these buckwheat waffles on the highest waffle setting to get them beautifully brown.
- Storage: Store in an airtight container on the counter for up to 5 days. Reheat in a toaster oven for the best texture. They also freeze very well in sealed, freezer-safe bags. Just pop them in the toaster to warm them up.
Add your own private notes
Whenever you come back to this recipe, you’ll be able to see your notes.
Nutrition (% Daily value)
Disclaimer: This nutritional data is calculated using third party tools and is only intended as a reference.



Leave a Reply