
Kiwi Popsicles with Coconut Milk and Fresh Basil are blended from ripe kiwi, banana, creamy coconut milk, and just a few basil leaves, then frozen until firm. They are dairy-free, sweetened without refined sugar, and take about ten minutes of real work before the freezer does the rest.
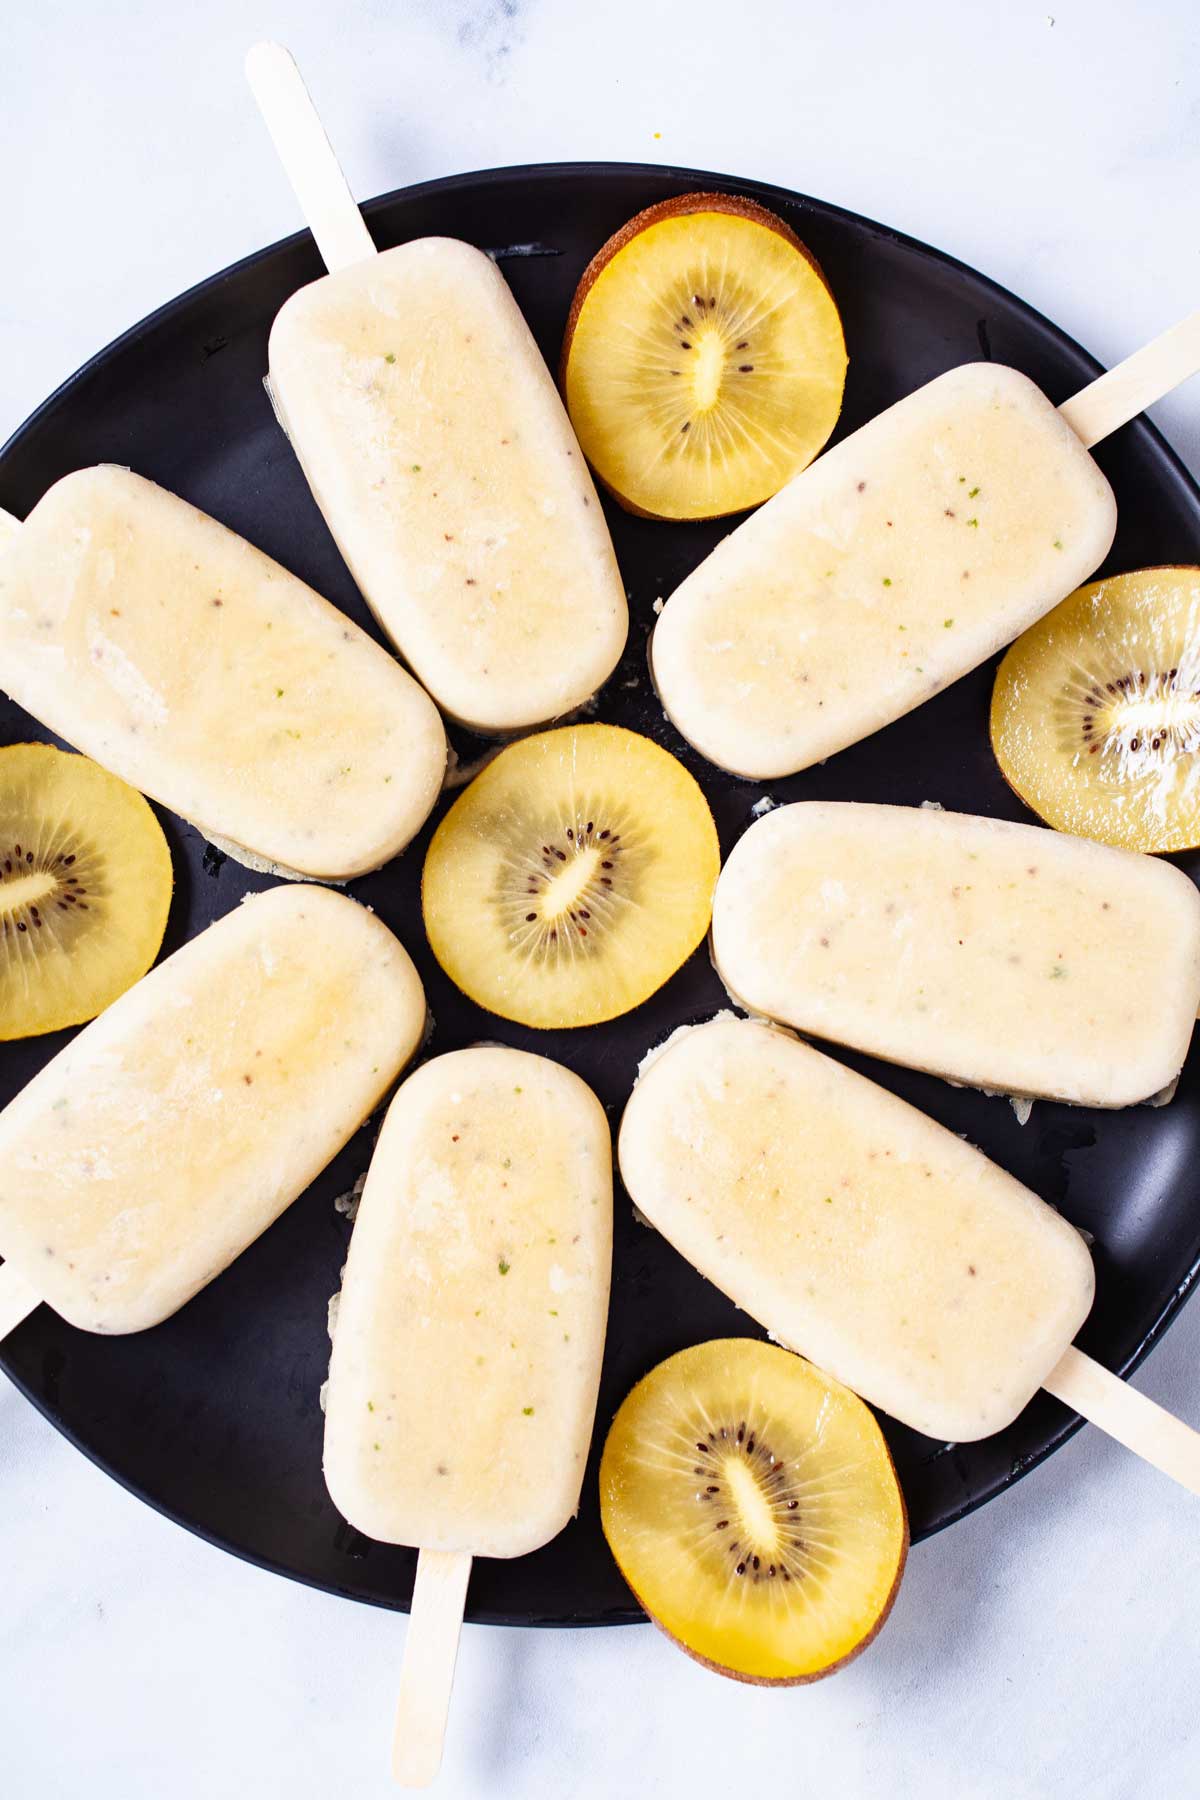
Basil in a popsicle sounds louder than it tastes. Six or eight leaves won't make these herby or savory, but they aren't just decoration either. Coconut milk is rich, and that richness can soften the bright flavor of fruit once frozen. The basil adds a green, faintly peppery lift that keeps the kiwi tasting fresh instead of heavy. Most people probably won't be able to name what it is. They'll just notice that the pops taste a little brighter.
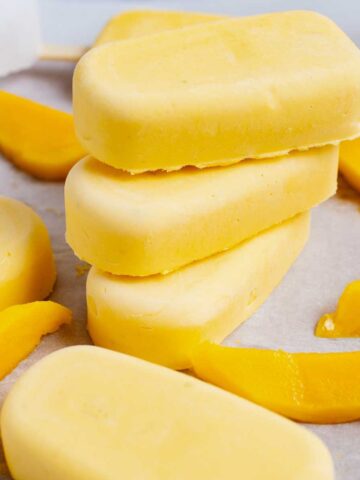
If you've made my Mango Popsicles, think of these as a dairy-free version, creamy from a can of coconut milk instead of mascarpone. Let's make them.
Why You'll Love This Recipe
- Easy to make: These take about 10 minutes to prep. Just peel the fruit, blend everything together, pour into the molds, and freeze.
- Creamy texture: Full-fat coconut milk gives the popsicles a richer, creamier texture than a fruit-only pop. I also add a little arrowroot powder for a subtle extra creaminess, but it's optional.
- Naturally sweetened: Ripe kiwi and banana bring their own sweetness, with a little monk fruit sweetener or coconut sugar added to round things out once frozen.
- Just a hint of basil: You only need a few fresh basil leaves. The flavor stays subtle and adds a little freshness without making the popsicles taste herbal or savory.
- Great to keep in the freezer: They keep well for about a month, so they're easy to make ahead whenever you have ripe kiwi on hand.
Ingredients & Notes
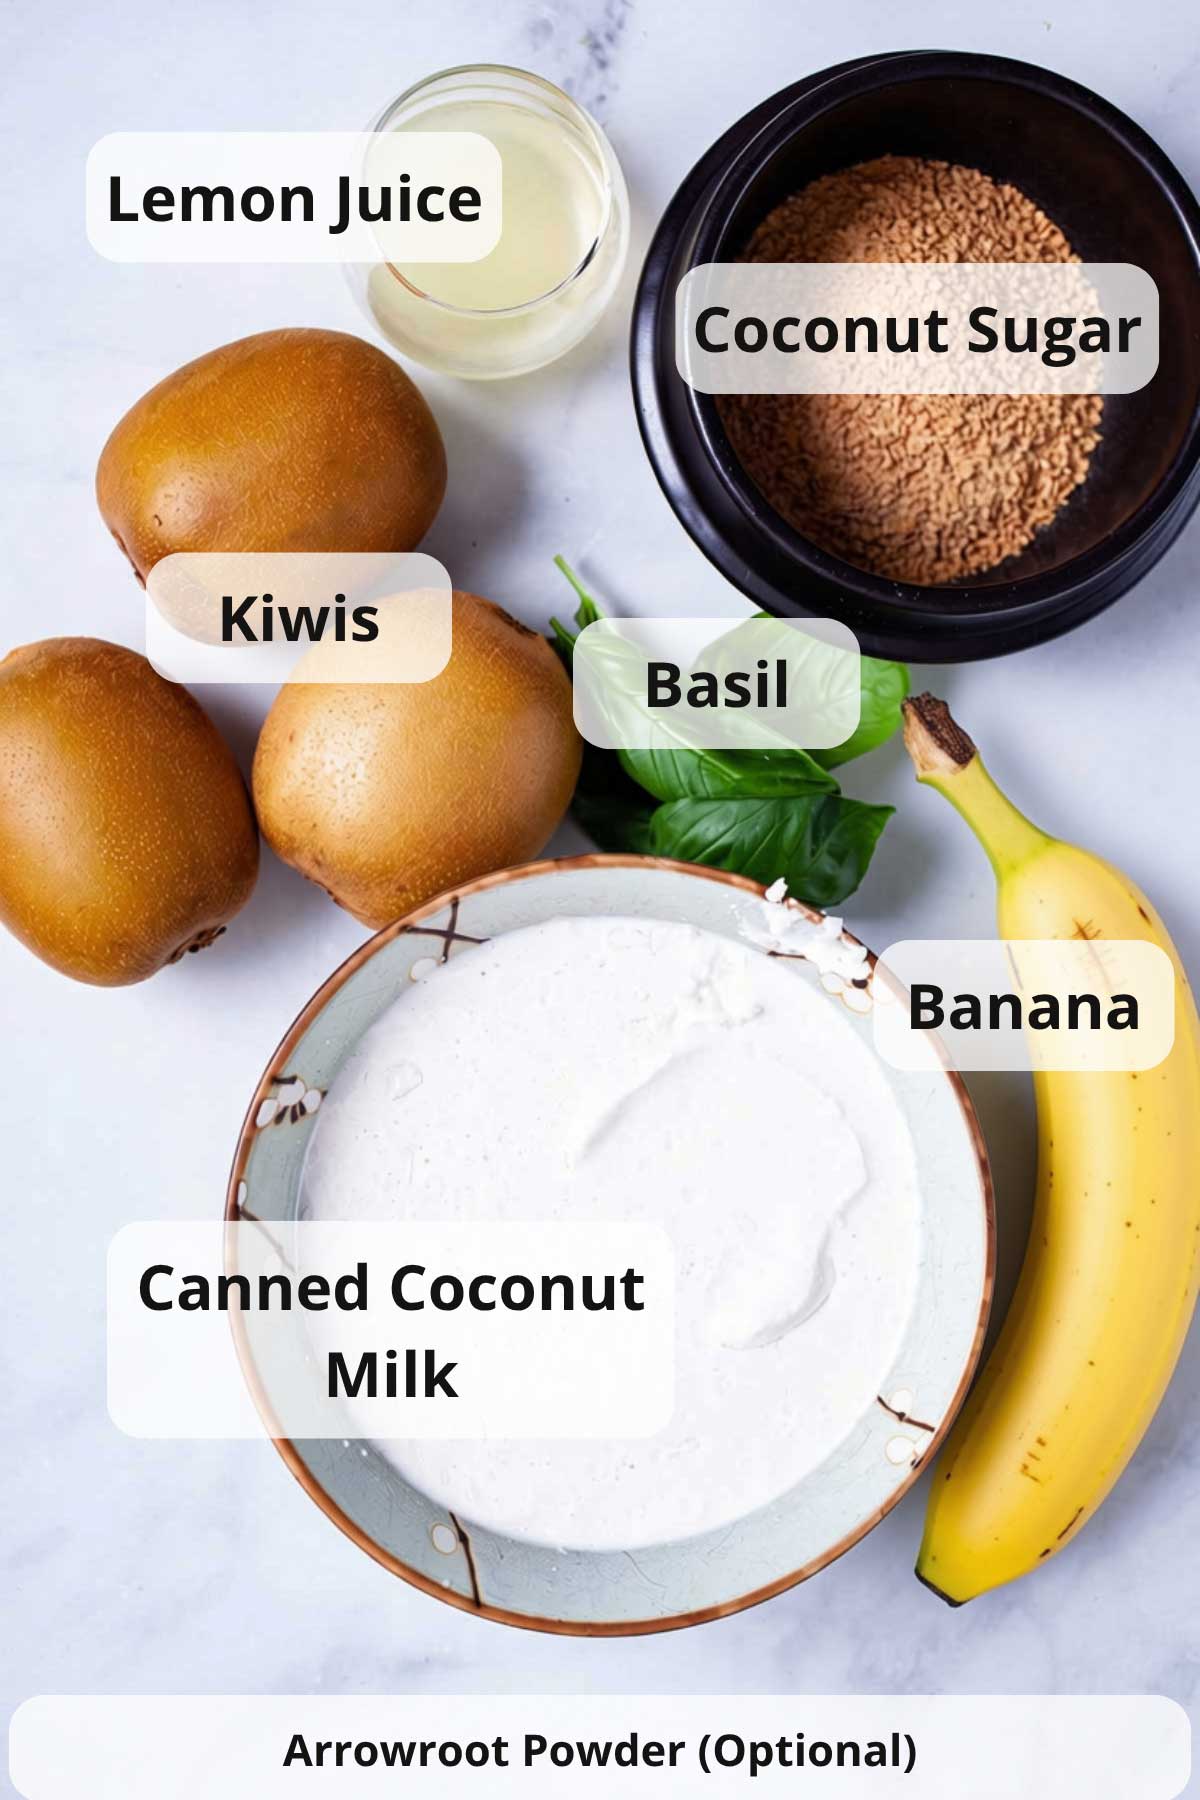
- Sweet kiwi: Ripe kiwi will give you the best flavor here. I usually look for fruit that gives slightly when gently pressed. Gold kiwi, such as SunGold, is naturally sweeter and less tart than green kiwi, which makes it especially good for popsicles. Green kiwi works too, but you may want to adjust the sweetener to taste. Use extra in my kiwi chia pudding with matcha.
- Banana: Adds natural sweetness and gives the mixture a little more body, which helps the popsicles feel creamier once frozen. Use a ripe banana that is fully yellow with a few brown spots.
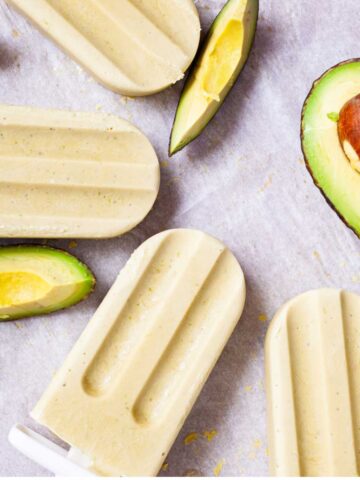
- Fresh basil leaves: A small handful, about 6 to 8 leaves. I keep the amount intentionally small. The basil should add a subtle freshness rather than make the popsicles taste herbal or savory, similar to mint in my avocado popsicles.
- Fresh lemon juice: A little lemon juice brightens the kiwi and helps balance the richness of the coconut milk so the popsicles still taste fresh and fruity once frozen.
- Full-fat coconut milk: Use canned full-fat coconut milk rather than the refrigerated kind meant for drinking. The extra richness helps give these popsicles their creamy texture. Shake the can well before opening, and if the cream has separated, simply add everything to the blender and blend until smooth.
- Granulated monk fruit sweetener or coconut sugar: Frozen treats tend to taste less sweet once frozen, so I like the mixture to taste just a little sweeter before it goes into the freezer. If using monk fruit, choose a granulated 1:1 sugar replacement rather than pure monk fruit extract. Coconut sugar also works, although it will give the popsicles a slightly deeper color and warmer flavor.
- Arrowroot powder (optional): 1 teaspoon. I find that a little arrowroot gives the popsicles slightly more body. The difference is subtle, so you can easily leave it out.
How To Make Kiwi Fruit Popsicles
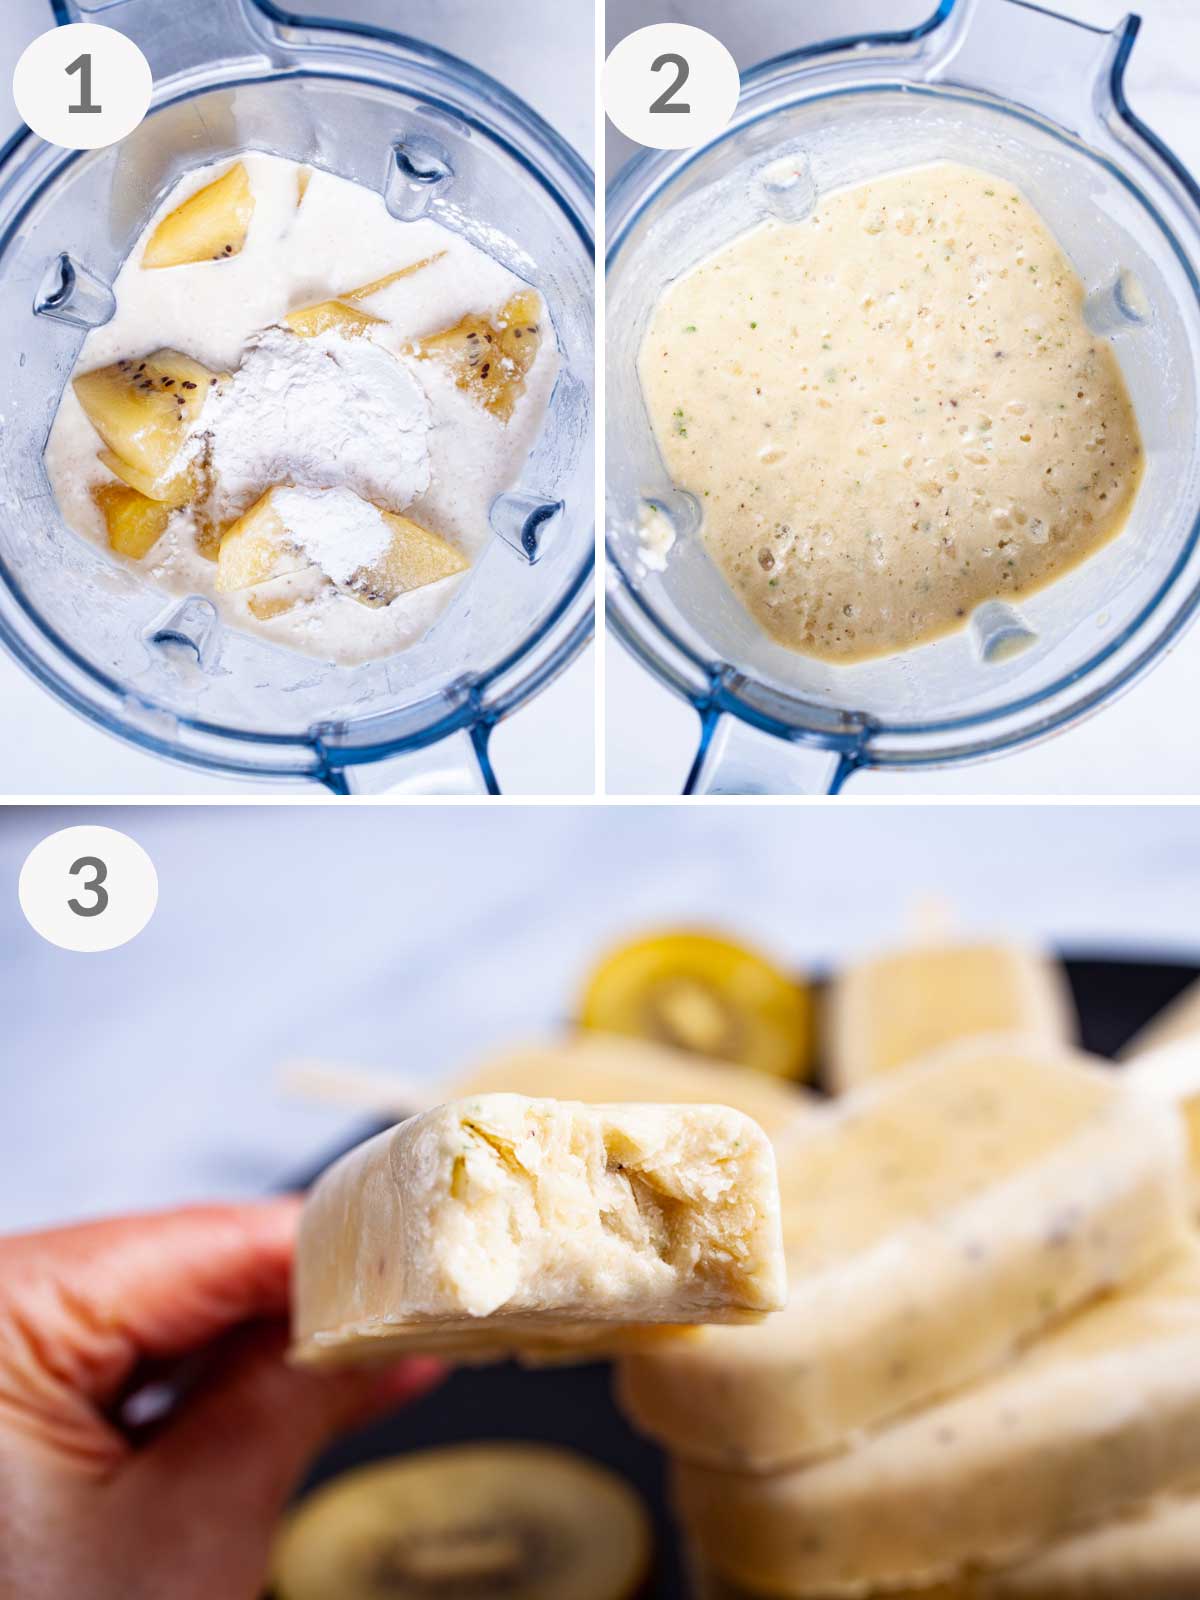
Step One - Add the kiwi, banana, basil leaves, lemon juice, coconut milk, sweetener, and arrowroot powder, if using, to a high-speed blender and blend until completely smooth, about 30 to 45 seconds. I like to taste the mixture at this point, since it should taste slightly sweeter now than you would want it in a glass.
Step Two - The mixture should look creamy and smooth. Then divide it evenly among the 8 cavities of the popsicle mold, leaving a little room at the top. Tap the molds on the counter a few times to settle the mixture and release any air bubbles, then insert a stick into the center of each one.
Step Three - Seal the molds and freeze for at least 3 hours, though overnight gives you a firmer popsicle that releases more cleanly. Release them one at a time, gently flexing the sides of a silicone mold, or running a rigid mold under warm water for a few seconds until the popsicle slides out.
Top Tips
- Taste the mixture before freezing. Frozen treats taste less sweet than they do at room temperature, so I like the blended mixture to taste slightly sweeter than I would want it in a glass.
- Tap the molds before freezing. A few taps on the counter will settle the mixture and release air bubbles, which give you a smoother popsicle.
- You may have a little extra. Depending on the size of your mold, this makes about 8 popsicles with a small amount left over. I pour whatever is left into a glass and drink it.
- Freeze the molds upright and undisturbed. Moving them around in the first hour, before the mixture sets, can leave the sticks leaning to one side.
- Give them time to release. If a popsicle does not slide out right away, a few more seconds under warm water usually does it.
- Don't worry about the lighter color: Popsicles made with granulated monk fruit sweetener may look a little paler or whiter than those made with coconut sugar. That's completely normal and doesn't affect the flavor.

Storage
Keep these in the freezer for up to 1 month. Once they're fully frozen, unmold them, wrap each one individually in parchment or wax paper, and store them together in an airtight container or freezer bag. Leaving them in the mold long term is fine too.
Recipe FAQs
It doesn't taste savory or herbal. What it does is cut the richness of the coconut milk so the kiwi still tastes fresh after freezing, which is a difference you notice more if you leave it out than if you leave it in. Ten leaves bring it more forward if you love a subtle herbal flavor note, as in my honeydew melon juice with basil.
Almost always the coconut milk. Light coconut milk or the refrigerated carton kind has too much water and not enough fat to stay creamy at freezer temperature. Use full-fat canned coconut milk, and don't skip the banana, which does more for the texture than you'd expect.
You can. Green kiwi is more tart, so taste the base and add an extra tablespoon or two of sweetener before you freeze it.
More Frozen Treats to Make Next
Made this? Tell me how it went in the comments and leave a star rating below. I love to hear from you. And don't forget to subscribe to my monthly newsletter! - Mariska
📖 Recipe
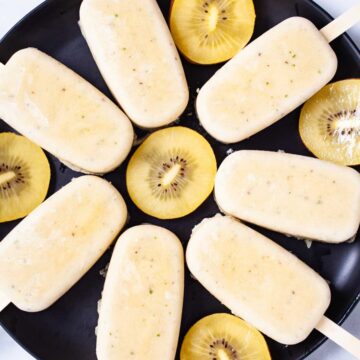
Kiwi Popsicles with Coconut Milk and Fresh Basil
Mariska RamondinoEquipment
Ingredients
- 3 sweet kiwis, peeled about 336 grams
- 1 banana, peeled about 190 grams
- A small handful of fresh basil leaves (6-8 leaves)
- 2 tablespoons fresh lemon juice
- 1 can full-fat coconut milk (13.5 fl oz / 400ml)
- ⅓ cup granulated monk fruit sweetener (1:1 sugar replacement) or coconut sugar
- 1 teaspoon arrowroot powder (optional)
Instructions
- In a high-speed blender, blend all ingredients until smooth.3 sweet kiwis, peeled, 1 banana, peeled, A small handful of fresh basil leaves, 2 tablespoons fresh lemon juice, 1 can full-fat coconut milk, ⅓ cup granulated monk fruit sweetener (1:1 sugar replacement) or coconut sugar, 1 teaspoon arrowroot powder (optional)
- Divide the mixture evenly into a 8-cavity popsicle mold. Gently tap or shake the molds on the counter to settle the mixture and release any air bubbles.
- Insert a popsicle stick into the center of each mold. Seal the molds and place them in the freezer for at least 3 hours, though overnight is ideal for a firm, clean popsicle.
- When ready to enjoy, release one popsicle at a time from the mold. If using silicone molds, gently flex the sides to loosen. For standard molds, run the outside briefly under warm water for a few seconds.
Notes
- Storage: Keep in the freezer for up to 1 month.
- Arrowroot powder (optional): 1 teaspoon. I find that a little arrowroot gives the popsicles slightly more body. Since it isn't heated and gelatinized here, the effect is subtle, but I still like the texture it gives them.
Add your own private notes
Whenever you come back to this recipe, you'll be able to see your notes.
Nutrition (% Daily value)
Disclaimer: This nutritional data is calculated using third party tools and is only intended as a reference.
Mariska Ramondino says
These kiwi fruit popsciles are so refreshing and so easy to make. Enjoy!